Wednesday, October 15, 2014

CHACB - Challenge #17 - Happy Fall, Y'all


Whoopee!!! I get to play along with Craft Hoarders Anonymous' challenge this week.

Since I usually buy my supplies on sale after the holidays, my items get used the following year. This is true of the three cards I made for this challenge, except for the IO Squirrel Dies (just released), and I could NOT wait to use them!
Don't you just LOVE the dies they have these days. More and more I'm creating cards just made with die-cuts. The adorable squirrels are sized just right to pair with  IO's pumpkin die. That fabulous swirl tree die can be a bit difficult  to remove from the paper from which it's cut. I used a trick from my favorite paper store, Absolutely Everything, and used wax paper between the die and the paper being cut. The waxy lubricant on the cut edges makes a HUGE difference. 

 Here's another pairing of those two great die sets. At first I thought the yellow, white, and daisies were more like a "spring" card, but it's growing on me. (The copic shading on the pumpkins hardly shows in person, but I just couldn't get this picture to look right. Have you been having a lot of grey days lately?)

This last card is made with IO's Halloween Hill Die. At first I thought this die might be limited in its use, but there are so many things you can do with it. This is just one of several cards I made with it, and I was pleased with the way the Indian glittered paper worked as a starry sky. To see this die, cut into pieces, and used on a different kind of card, click here and scroll down to the "Scared Girl with Cat".

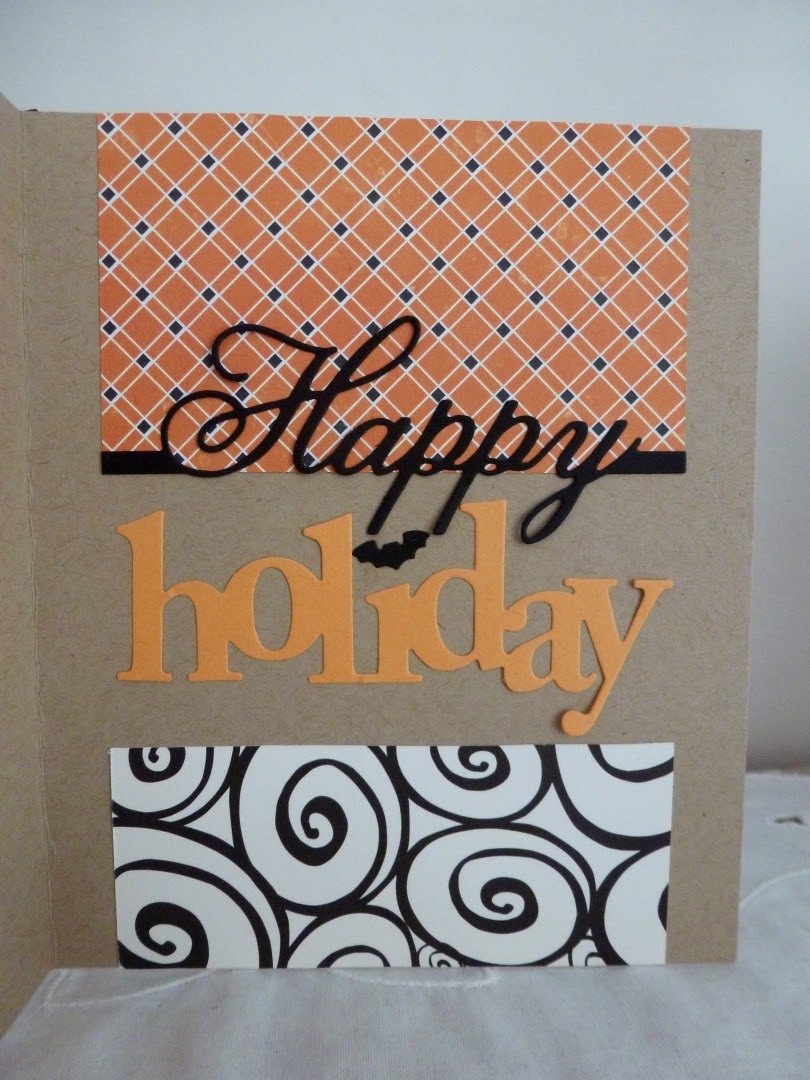
Thanks for visiting and looking at all three cards. (They are so simple, I figured they should be shown in one post.) I can hardly wait to comment on your creations. It seems this challenge really floated everyone's boats.

Thursday, September 25, 2014

Free Halloween Bingo Cards to Download - Part 3

Welcome to day three of posting some Halloween Bingo cards I've made recently. I'll start off with a sample using one of these cards, and further down this post, you'll find four of the cards that I debuted yesterday, in their single card formats.

Cat in Pumpkin

Above card's inside, finished a la Gloria Stengle

Here are the large size images of some of the HALLOWEEN BINGO cards that I used in projects on day one. (For bingo cards ranked up four and six to a page (easy printing if you want variety), see that post here.

Right click on the images below to save. All images are JPEG files. The credit for the images and fonts used are listed below each. 
The following four cards were built on a card found on CollageCandy.blogspot where you can find unaltered BINGO cards.

* Old Design Shop*
Spiderweb
* Cruickshank Font *
Numbers
* The Gingerbread House Font *
Word "Scary"

* Cruikshank Font *
Numbers
* Cats Alphabet Medium *
Word "Kitty"

Bat
Numbers
Word "Treat" (bolded)
Bat (altered)

Cat on Pumpkin
Jack-o-lantern
 Arched Cat
Bat
Word "Witch"
Numbers

If you would like to try your own hand at creating BINGO cards, here is the blank version I created and used for the four cards above.

For three more Bingo cards, see the previous post here.

Hope you enjoy using these as much as I enjoyed making them. Please leave a comment if you find these useful, and would like some more for Christmas or other holidays. As always, thanks for taking the time to visit.

Free Halloween Bingo Cards to Download - Part 2


Here are three of Halloween Bingo cards I designed, in their larger formats. These can be easily sized for printing, and you can print only the cards that appeal to you. (If you want these cards in ready-to-print format, click here.)


The card above was designed with the first Bingo card below, and the fabulous fiddle-playing cat is from Dover's Full-Color Holiday Vignettes CD-ROM and Book. (I am a serious Dover book fanatic. My book is old enough that it didn't come with a CD.) If you would like a free source for this image, you can find one at Magic Moonlight Studio - Free Images.

Truth be told, the inspiration for all my Halloween cards using Bingo cards, comes from the drop dead fabulous Ginny, at Polly's Paper Studio blog. If you love vintage images and richly layered compositions, Ginny is at the top of the list. Once you start looking, you won't be able to stop.


(Just a personal note here: Usually, copying cards seems like a cheat to me, BUT boy do I learn a lot when I use a great card as the basis for mine. Visual creativity is not my strongest suit, and by patterning my card off another, I discover all kinds of things that make the cards work, such as how the balance of the composition is achieved.)


On to the first batch of Halloween Bingo cards. Each of these have a different base, and are a bit less Bingo-ish than the four cards found here. (Click on images to enlarge.)

Original Pressman BINGO card
Owl
"TRICK"
Numbers

Grave Yard Header
Skull
Cross written letter - Background
Numbers

BINGO Card Base
Bat Motif Around Letters
Thorny Branch Frame
Ghost Lady (Center Block)
* Cruikshank Font *
Numbers
*Bolton Titling Outline Font*
"GHOST"

To see more Bingo cards, see my lat post here.

 I hope you can make use of these BINGO cards and have a blast stirring up a little Halloween magic yourself. Your comments and suggestions are gratefully received.
Full-Color Holiday Vignettes CD-ROM and Book

Wednesday, September 24, 2014

Free Halloween Bingo Cards to Download - Part 1

Well, fall is here, and I've finally gotten around to designing some Halloween Bingo cards to use in my card making. Ginny (Polly's Paper Studio) and Gloria (Scraps of Life) are two of my favorite artists. Their vintagy looking holiday cards are the ones I could gaze at forever. Their style is fantastic and richly layered (and really hard for me to emulate), but I took courage in hand, and tried making some of my own cards based on their style.
 

At the end of this post are two sheets of my Bingo cards ready to print on 81/2"X11" cardstock. Because this post would be too long if I shared everything today, I will have two additional posts featuring more cards, and each of the Bingo cards as separate images for resizing and printing. The links below each card are the links for the focal images. The sources used in designing the Bingo cards, are revealed in the two following posts.
 
*The Graphics Fairy*
Darling Cat Face

There just aren't enough places to incorporate this super adorable cat image. I used some black flocking on it, but it does make him look a bit mangy, since I don't quite have my flocking technique purrfected. (See another card using this cutie here.)

The wide linen ribbon with stripes is from May Arts, and Ginny uses it gloriously. The felt behind the button is from Papertrey's "Button Stacks Die" and Poppy Stamps "Small Blooming Poinsettia Die".
 
(This Ghost Lady was saved many years ago, but they have the best images!)

The black swirls are a cut apart Die-namics "Large Fancy Flourish" die cut. (This is such a versatile die.) The ribbon is Hug Snug seam binding topped with black heavy button thread.

Scared Girl with Cat

The details include a glittered ghost by Recollections (Michaels brand) and dies from Impression Obsession and Memory Box.

I've been experimenting around with the inside of my cards, and if you would like a load of inspiration, Gloria would be your muse. The dies used were Papertrey's Wonderful Words: Holiday Die Collection and One Liners: Happy Die. The cute little bat (over the "i") is from the Impression Obsession die above.

Bat Lady

This batty lady is colored with Spectrum Noir alcohol markers, and further adored with black glitter and rhinestones. The top edge is punched with Martha Stewart (discontinued) and the lacy die behind the buttons, is Papertrey.

Now for the Bingo Card Downloads. Right click and choose "Save As". If printed at 100%, each will fit on an 81/2" X 11" surface. I like to use 60# cover stock to print these.


 To use a single or self-sized card, see the following two posts.


If these appeal to you, and you would like to have more for other holidays, be sure to leave me a comment, and I will do my best to create some more. Thanks so very much for visiting.

Monday, July 14, 2014

Challenge #11 - Tag, You're It!

It's time to try my hand again over at Craft Hoarders Anonymous. Gloria and the Design Team have wonderful inspiration pieces, and you can see all of these tags, tagging along, here.

Every once in a while, I change gears in my crafting life. When my paper creations are not so creative, I take a break from them, and for the last few weeks, that means I've been mucking about with fabric, specifically, some version of fabric postcards.

Tags are one of my most favorite formats for mucking about.  (If my experiment fails, no biggie; if it works, there's another tag to use.) Just so happens, that with my embroidery, I was experimenting with seam binding and (drum roll please), my Spectrum Noir markers. My craft expense account is not huge, so both a roll of white (or off white) Hug Snug seam binding, and Spectrum Noir markers (you can buy them in six packs and make a large starter set without selling the farm or any animals you happen to have on it), are right up my alley.

The test: Can rayon seam binding be used instead of silk, for ribbon embroidery? What do you think? The rose in the lower right hand corner is silk, and the other two are the seam binding.

Well, the seam binding isn't quite as fluid as the silk, but I really like the result, and I LOVE the affordability.  Here's where the markers come in. After I completed the two spider web roses, I took a Q-tip soaked with alcohol, slathered the seam binding roses until they were "wet", and touched my Spectrum Noir markers to the ribbon, here and there, making sure the center of the flower was the deepest hue. (You could also do this alteration to the seam binding before doing the embroidery. A flat paintbrush loaded with alcohol, or simply soaking the ribbon in alcohol, would be the best way to go here. Then add as much, and as many colors and variations as you like with the markers.)

Well, now I'm back to playing with paper for a while, and hope that my fabric entry is in keeping with the rules of the CHACB. One last note: The "spider web rose" is very easy to make, and it is wonderful on all manner of paper art. You only need a base material that can have a needle pass though it, thread, and ribbon. The larger the rose, the wider the ribbon should be, and the more flexible the ribbon, the more natural it will look. If you have any questions, don't hesitate to ask. Hopefully, there is a "seam binding rose of many colors" in your future too. Thanks for visiting.

Saturday, May 24, 2014

CHACB - Challenge #8 - Show Us Some Metal or Glass

Chances are you are coming here from the Craft Hoarders Anonymous Challenge Blog - Challenge #8. Thanks for visiting, and I hope you will leave me a comment because there are a couple of questions I'd love savvy answers to.


I've been following the fabulous Gloria Stengel for quite a while, and this new venture is so exciting. The talent displayed by the DT and participants just blows my socks away, and it's taking some guts on my part to add my entry among your projects.

Fresh water pearls and gold stitching on background.
Let me ask my two questions now, so if you have any ideas, they can percolate while you're perusing. Normally, I would finish off a fabric postcard by adding a ribbon or buttonhole stitching, etc. around the sides. If this were your project, would you bind it, and if so, what might you use as a "frame"? And second, I have a small grease spot transferred from my embroidery hoop (residue from a label?) and I tried powder to remove it, but no luck. It was too late to start again, and the lace is about 100 years old. Any ideas on how to remove it?

Detail of metal butterfly and beads.
This fabric postcard grew out of wanting to use ribbon in a unique way. (Remind you of the last challenge on this blog? Yep, I'm that late!) I also wanted to use my gold butterfly and gold beads too, which satisfies this week's challenge of using metal.

These ribbons are large enough (NOT embroidery sized), that I needed to find new ways to help them pass through my fabric base. If anyone is interested, I would love offer more details about my journey with this technique. Pretty much it is like silk ribbon embroidery, but special consideration should be given to the background chosen, and opening areas for the ribbon to pass through.

One inch wide light-weight ribbon forms the flower head.
I bonded my 100 year old lace (the backing of the lovely but faded, pillow front) in the picture below.
Some of the supplies I used on top of the lovely (very old) lace pillow that adorns the background.
These unbelievably small cross stitched flowers are on the pillow front. Doesn't it just blow the mind how diligent artisans can be?!
This stitched flower center is just over an inch wide!
My gold stem stitching is a bit off because I was not able to see well enough on our dour rainy days. (Yes, I did put on the light...not good enough.... or my eyes are starting to get old along with the rest of me.) I will blame the grey weather for the lighting in my pictures though!

Here I have my grease spot circled. Your answer? "I don't think that grease spot makes your hips look big."
Now it's your turn if you have any helpful suggestions about spot removal, finishing the frame, or any other comments. Thank you so much for visiting and  sharing your thoughts. Learning from other artists is just "the berries". Now I'm off to see all of your takes on the challenge, and be wowed.

NOTE
I'm updating this post to include a picture of this postcard framed by a beaded picot edge. 


Many thanks to those of you who suggested this might look better with some sort of frame around it. I AGREE!


Saturday, February 8, 2014

Poinsettia Tag for Festive Friday #24


Hi folks. I've been following my dear blog friend, Geri at Paper Wishes, for quiet a while now. She is a spectacularly talented artist and a down right beautiful soul. Her designs always blow me away, and I've been loving the places she visits in Blogdom.


Her designs for Festive Fridays Challenge Blog are some of my favorites, and I decided to give it a try myself, especially since this week's FFC24 inspiration photo is ripe with potential, and features one of my favorite color schemes.


My contribution is an eight inch tall tag. This composition is a bit more Rococo than my usual fare, but I kind of like it. Here are the ways I think this card gibes with the photo:
1. Many different colors of white with gold enhancement.
2. Organic twisted "lines" that run through the image.
3. Round white and gold balls.
4. Glitter here and there.
5. Both have a fair amount of depth. (The picture below was taken with side lighting to capture the feeling of depth that really doesn't show too well in the picture above.)


The poinsettia dies from Spellbinders, and the "merry" die from Papertrey are some of my favorites. (By the way, don't you just love the gold paper the word is cut from; it's wall paper from the 1940s backed with heavy stock.)  I really like the ribbon at the top and think it goes, BUT, I sure don't like the bow it makes. Do you have any suggestions for a better topper that won't cover up the tag?

Can't thank you enough for visiting. I'll be visiting your place soon!

Friday, February 7, 2014

Papertrey's 7th Birthday Bash - Timer Challenge - Love In My Heart

If you like a great birthday party with lots of fabulous gifts, head right over to Papertrey's 7th birthday party that is lasting for the first fifteen days of February. Talk about partying!!! There are lots of activities, prizes, and hints about upcoming events this year. You can join the party here.

My small participation in all the frivolities, is this card for today's challenge - 7 supplies in 17 minutes. (Just reading the posts, is like reading a newspaper cover to cover - only more fun.)  Folks seem to be doing fabulous work, given the constraints. It not quite as easy as it sounds at first!

Love in my Heart

I think I came in at seven supplies.
PTI cardstock - black, white, pure poppy, & raspberry fizz.
PTI dies - Limitless Layers: 2 1/4" Hearts Die Collection (2 of them) & Framed Love.

If I had to count the die cutting machine or scissors, I'm two over. Now off to continue looking at your great creations! Thanks for visiting.


Monday, February 3, 2014

Anything But a Card Challenge - RRR#88 - Second post

If you're here, chances are you've come from Really Reasonable Ribbon's 88th Challenge  - Anything But a Card. 


My contributions to the challenge are postcards, but they are made of fabric and other embellishments that are sewn on. I fused cotton fabrics, using 'Heat 'n Bond' onto a material called "Timtex", a VERY stiff Pellon like material, developed for use in the brim of hats. (My design was inspired by a tag in Basic Grey's beautiful 'Lily Kate' line from years ago.)

Using hand and machine sewing, the design was worked on top of the card. It was a blast figuring out how the different flowers could be formed. Below is a map of ribbons and trims used.


As you can see, there are quite a few heart shaped elements (one of my favorites), and I challenged myself to make the largest flower with heart-shaped petals. 


 Each open petal is a length of narrow ribbon with the ends brought together with the same side facing up, side by side. (The tip of the pedal will not lie flat at this stage.) Attach the two cut ends down next to one another where the center of the flower will be. Grab the tip of the petal and rotate the top side of ribbon to face the card's surface. Still holding the petal tip, move towards the flower center until you like the shape. and tack the tip down to the surface.

The ric-rac flower is formed by using a thread to draw the valley points together. Other embellishments include glass, brass, and shell beads, buttons, ladder yarn, and invisible thread.

Thanks so much for coming by to visit, and please leave me a comment. I would particularly like to know if my instructions for the large flower are clear, and if making one, is something you might try.

See you at your place soon!

Anything But a Card Challenge - RRR#88

Over at Really Reasonable Ribbon they are having a challenge to make 'anything but a card' using ribbons and trims. (Since my couch made from ribbons is out at the dry cleaners at the moment, I decided to share one of my smaller projects.) This heart seems timely with Valentine's Day close at hand.


 I fell in love with fabric postcards the first time I was given one by a friend. The postcard is basically a fabric sandwich with a stiff filling. This makes it very easy to embellish to the hilt, while having a 'canvas' that doesn't collapse under the weight.

A narrow red trim covers the boundary between the two background fabrics. (My trim wobbles a bit since I chose to sew it on, rather than use glue.)
 

The leaves and other bits of greenery are made from 7mm (about 1/4") silk ribbon. Any very soft narrow ribbon can be used for ribbon embroidery; it just needs to go on a needle and be able to be pulled through the fabric 'sandwich'. Sequins, beads of glass and brass, invisible thread, and embroidery floss, finish off the composition.

For more fun, visit Really Reasonable Ribbon's blog to see what their designers, and other folks, have made. If you enjoyed seeing a fabric postcard, please leave a comment. I'd love to share more, if there is an interest. (OK. More than just the ones I shared for this challenge.)

P.S. If you like fabric postcards with a holiday theme, you might enjoy my Easter egg cards here.
Related Posts Plugin for WordPress, Blogger...