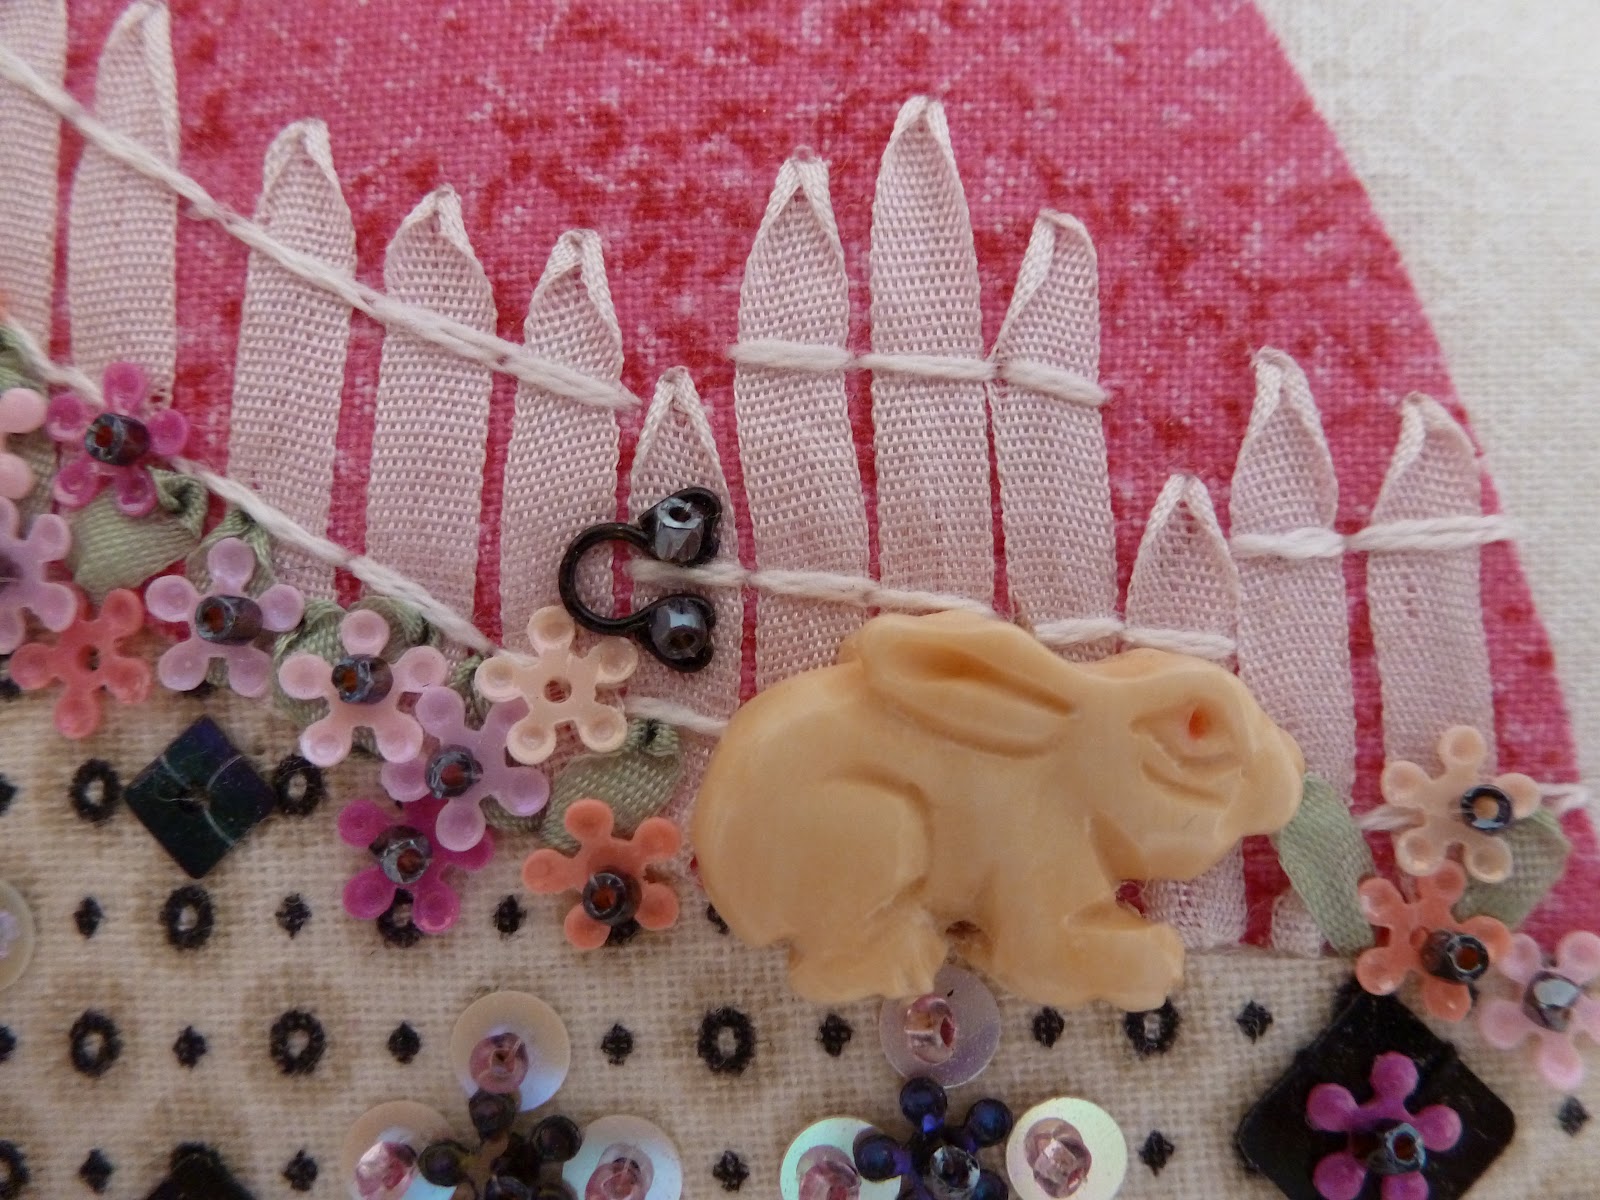
Who is this cute bunny and what is he waiting to do?
If you want to find out, grab a cup of coffee or tea. This is a bit longer than my usual post. (More pictures; not more text. Whew!)
He's the new die cut bunny (with extra details) from 'Papertrey Ink', and he will be riding in an Easter egg hot-air-balloon with this friend!

Papertrey's February release was a blast, and when Easter goodies came in the mail, they just begged to be put to use - immediately! The biggest thrill was the Shaker-like basket die. The basket is a breeze to make, and Nichole Heady has designed the die to make two different sizes.

I've always loved the vintage Easter postcards, with decorated eggs playing the part of a hot air balloon. With dies for a basket, bunny, clouds, and butterflies (all from Papertrey), and a 4&3/4" Styrofoam egg, I decided to whip up a ride for the darling rabbits.

I started by covering the large egg in blue felt.

The felt was trimmed to the circumference of the egg, divided into four equal sections, and pined around the center and pinned together at the 'poles'.

The excess felt was cut away,

and the seams sewn together with a whip stitch. (You can even just pin the seams in place if you cover them with ribbon afterwards.)

Now for the fun part, decorating. I chose to pin on the clouds and butterflies.

The butterflies were a bit plain so I added sequins. (Cartwright Sequins is bling heaven. If you can't find your sequins there, you probably can't find them.) Thick black button thread forms the antennas.

Now on to the basket; the small version of Papertrey's new 'favor die' basket. All the parts were cut from felt, and a heavy weight paper basket bottom, made stitching the sides to the base much easier. A strip of felt (on the inside where the brads are inserted) added reinforcement and structural support for that side.

Next, the passengers. Papertrey's new bunny die, slays me, but it needed a front as well as the cute back. The eyes are just leftovers from die cutting felt, the nose is a little brad, and the arms (drum roll please) are from a large snowman die. (If your bunny's going to ride, it needs to be able to hang on, right?) Attach the tail to the back side, eyes and nose to the front and button hole stitch them together.

The arms are actually attached to the inside of the basket with the toes hanging over. When you sew the bunny body to the basket, it will hide the sewn on arms.

This side has a scared bunny holding on with both paws. A length of bakers twine is sewn on to the two long sides of the basket (and topped with four small Mokuba ribbon flowers),

and hung over two small buttons pinned to the balloon sides.


Now to fly it and enjoy an Easter ride.

Bye for now, and thanks for going along for the ride.
Please leave a comment if you liked this post, so I know if I should do more.
Papertrey Ink Supplies: Shape Up Series: Snowman Die Collection, Polka Dot Parade #1 Die, Favor It Box 9 Die Collection, Beautiful Butterflies Die Collection, Heart-2-Heart #6 Die Collection (clouds), Lovely Layers Die Collection, Felt - Harvest Gold
Other supplies: Rayon/wool felt, small brads, Mokuba ribbon flowers, turquoise baker's twine, white trim, sequin pins, Plasteel 'Dylite' large egg, and all sequins from Cartwright Sequins